New Bedford, Massachusetts homeowners looking to install a fence can transform their outdoor spaces with these DIY tips. This guide walks you through every step of the process, from assessing your project and choosing the right fence type to planning your layout, gathering tools, and installation. By following these expert advice, you’ll have a beautiful, durable fence that enhances your property’s value and provides years of enjoyment.
- Assessing Your New Bedford Fence Project
- Choosing the Right Fence Type and Style
- Measuring and Planning Your Fence Layout
- Gathering Necessary Tools and Materials
- Installing Your Fence Step-by-Step
- Final Touches and Maintenance Tips
Assessing Your New Bedford Fence Project
Before installing a fence, New Bedford homeowners should take time to assess their project goals and yard layout. Consider factors like desired privacy levels, aesthetic preferences, budget, and the type of fence best suited for your climate and local regulations. Measure the perimeter of the area you want fenced and note any unique features or challenges in the landscape, such as slopes, trees, or existing structures.
Researching local building codes and obtaining necessary permits is essential to ensure your fence installation complies with New Bedford’s regulations. Understanding these requirements will also help you choose the right materials and methods for a strong, durable fence that stands the test of time.
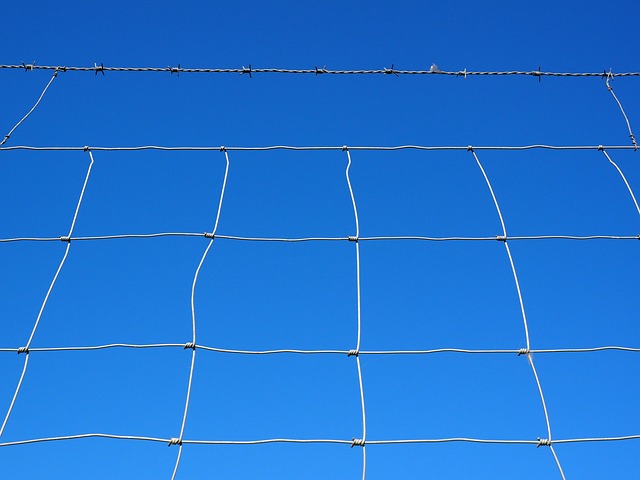
Choosing the Right Fence Type and Style
When it comes to DIY fence installation, selecting the right type and style is a crucial first step for New Bedford homeowners. The choice should align with your property’s unique needs and aesthetics. Consider factors like privacy, security, durability, and visual appeal when deciding. For instance, a solid wood fence offers classic charm and excellent privacy but requires more maintenance than a vinyl option, which is low-maintenance and comes in various styles.
Modern homeowners also have the option of chain link fences, known for their affordability and versatility, suitable for both residential and commercial spaces. Alternatively, ornamental iron fences add a touch of elegance, but they can be costlier and may need professional installation despite being low maintenance.
Measuring and Planning Your Fence Layout
Before installing your new fence, taking time to measure and plan your layout is crucial. Start by assessing the perimeter of your property, noting any existing structures, trees, or other obstacles that could affect where and how your fence will be placed. Measure the distances between these points to get an accurate idea of the fence’s length.
Next, decide on the style and height of your fence. Consider factors like privacy needs, aesthetic preferences, and local regulations regarding fence heights. Sketch out a rough plan of your desired layout, keeping in mind the type of fencing material you intend to use. This planning phase will save you time and effort down the line, ensuring a smooth installation process.
Gathering Necessary Tools and Materials
Before beginning your DIY fence installation project, it’s crucial to gather all the necessary tools and materials. This will ensure a smooth and efficient process. For most fences, you’ll need standard tools like a hammer, saw, measuring tape, and post-hole digger. Additionally, consider investing in a string line for precise measurements and marking posts, as well as a level to guarantee your fence is straight.
Materials vary depending on the type of fence you’re building, but typically include fence posts, rail brackets, fencing material (like wood or vinyl), and concrete for setting the posts. Create a detailed list based on your fence’s design and size to ensure nothing is overlooked, making your installation process as hassle-free as possible.
Installing Your Fence Step-by-Step
Installing your fence is an exciting project that can instantly enhance your New Bedford property’s curb appeal and security. Here’s a step-by-step guide to ensure the process goes smoothly. Begin by clearing the area where the fence will stand, removing any trees, bushes, or debris that might interfere. Next, mark out the perimeter of your desired fence line using string and stakes to create a visual guide.
Dig along the marked line, setting aside enough soil for post placement. Use a level to ensure your posts are plumb (vertically straight). Place each post in the hole, backfill with soil, and compact it firmly around the post. After the posts have settled, attach the fence panels or rails using appropriate hardware. Double-check connections at every joint, ensuring everything is secure before moving on to the next section.
Final Touches and Maintenance Tips
After completing the fence installation, it’s important to take care of some final touches to ensure a polished look. Inspect your new fence for any loose components or hardware and secure them properly. Apply a fresh coat of paint or sealant if needed, especially on wooden fences, to protect against the elements and maintain their appearance. Regular cleaning will also be beneficial, removing any dirt, debris, or algae buildup.
For ongoing maintenance, keep an eye out for signs of damage or wear and tear. Repair any broken rails or posts promptly to prevent further issues. Consider seasonal adjustments, such as moving gates or adding snow guards in winter to ensure the fence’s longevity. Regular checks will help you stay on top of maintenance, ensuring your DIY fence installation remains a functional and attractive addition to your New Bedford property for years to come.